 |
Why put all this down the drain? Or in the garbage? Either it's going to stink up the garbage, release methane in a landfill, or pollute the water. Since I started vermicomposting in 2005, I only empty the garbage once a week -- it never smells because there is never food in it (it's all the other stuff in my house I gotta worry about). In an urban setting where you might not be able to compost outdoors, composting food with worms (vermicomposting) is a great way to go. You can do it indoors (so the rats, raccoons and other critters don't try to get in your compost). And It doesn't smell (unless you're doing something wrong). Rule number one: don't add dairy or meat. Add: coffee grinds and filters, tea bags, anything trimmed off an item from the farmer's market (exceptions discussed below). You can also add cardboard, newspaper, egg cartons, corn-based packaging popcorn, etc.... The bin is always a work in progress. Even though I feel like I've seen it all, every year it's something different or a new condition. Once you're past the break-in stage, the bin should become stable and easy to manage. Maybe once a month I spend a maximum of 25 minutes on the bin (or when my wife says, "get that sh#**t out of my fridge!") A worm bin seems to me about the same effort as maintaining a 30-gallon freshwater fish tank. Clean it once a month at the least (or if it smells) and you can slide by no problem. |
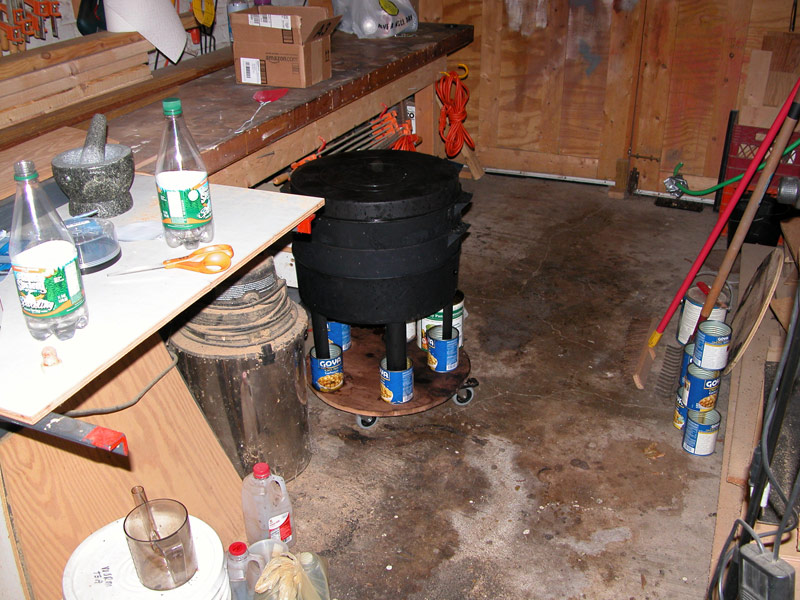 |
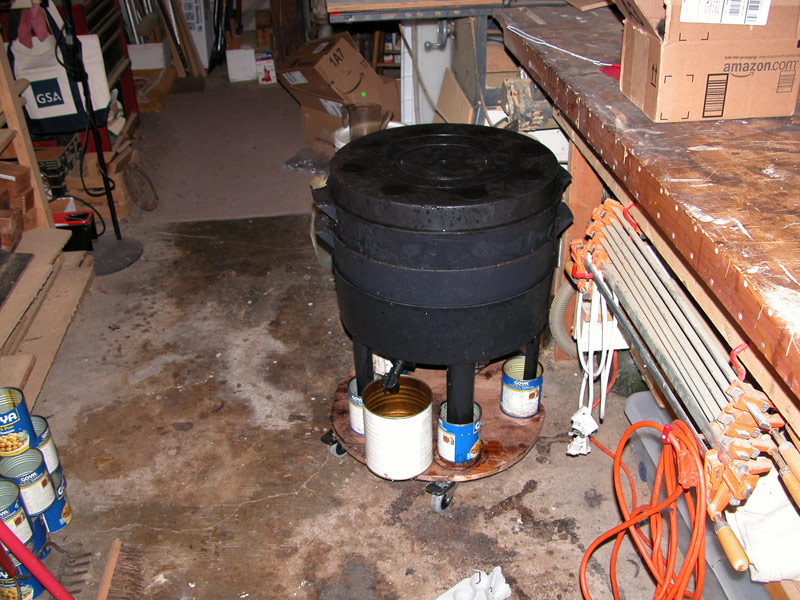
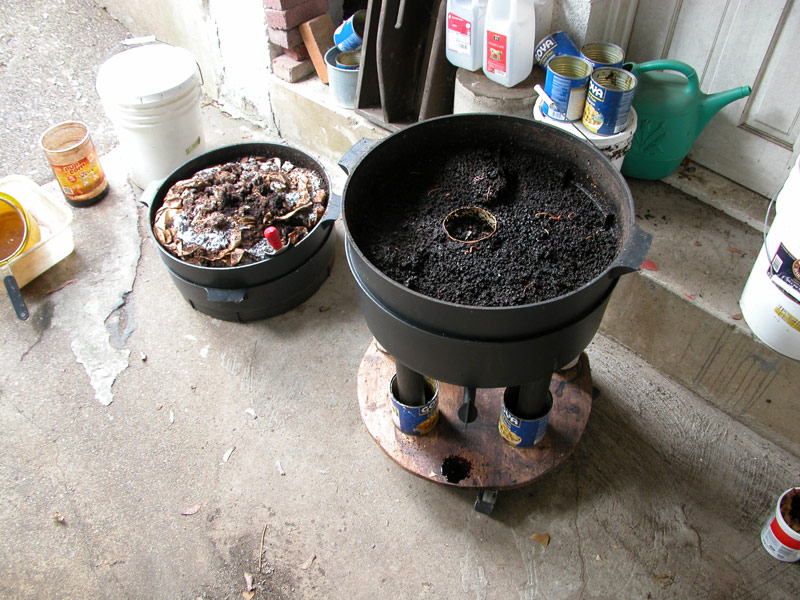
The vermicomposting bin.
http://www.abundantearth.com/store/canoworms.html For ease of use and just experimenting over the years I've added: -- a wood platform with locking wheels (to wheel it outside for cleaning) -- cans under the legs (the legs have vents at the top and liquid can run out and puddle). |
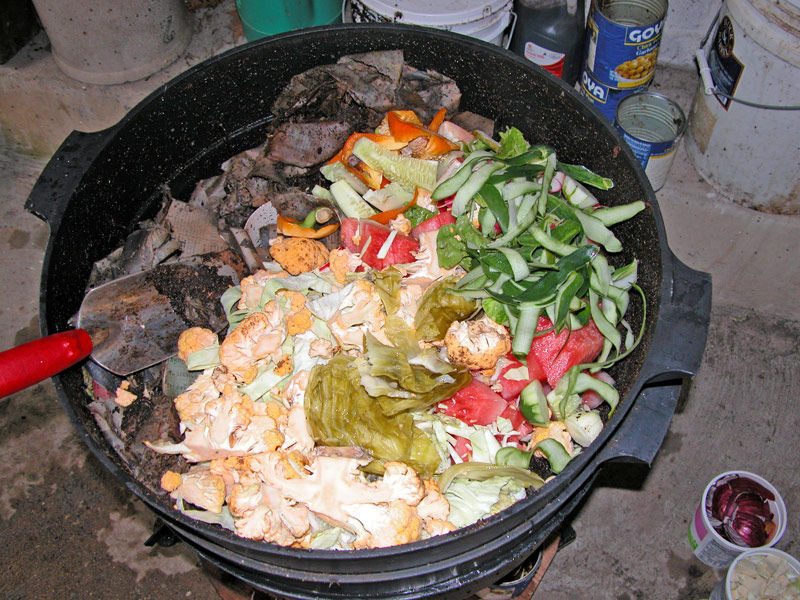 |
Dig aside the compost. Add food.
Besides dairy and meat, don't put in mushrooms. I've personally found that they can grow like wild in the bin. Although it doesn't bother the worms, it can make a mess. Worms Eat My Garbage by Mary Applehof is a very comprehensive book about vermicomposting that covers and answers all the questions you might have as a beginner and keeps you going for a few years. Although I refer to the book less and less over the years, I used it often for the first 2 years. It almost covers everything (99%). If you can maintain a compost bin for more than 3 years, then you might need more specific info on the web, but otherwise, this is the book to have. As a bonus, good friends have been reading the book to their kids before bedtime and apparently it's the kid's favorite choice. |
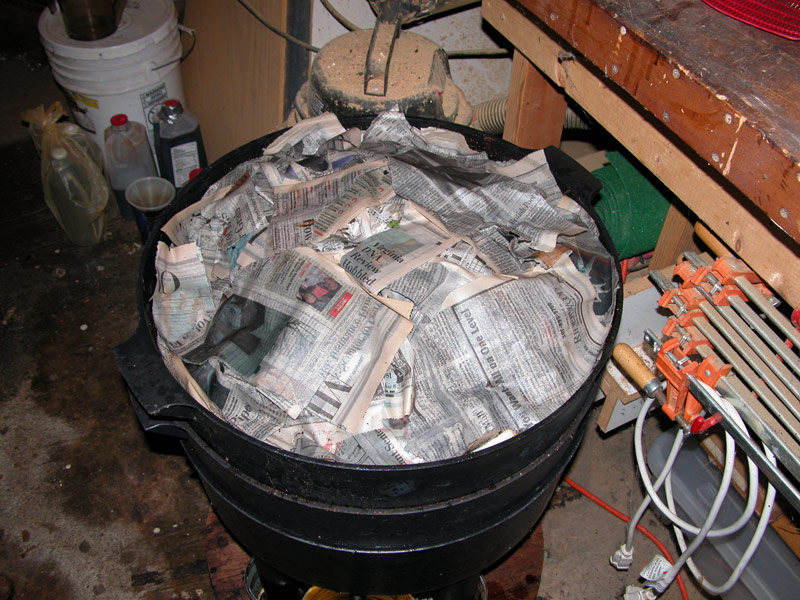 |
Cover the food with compost.
Occassionally I use newspaper to cover the food if I don't have enough compost to do it. I usually use it during the summer to keep flying things to a minimum and keep the moisture in. It needs to pass air though, so not too tight. You can also use coffee grinds and filters to cover the food, just add them last. |
 |
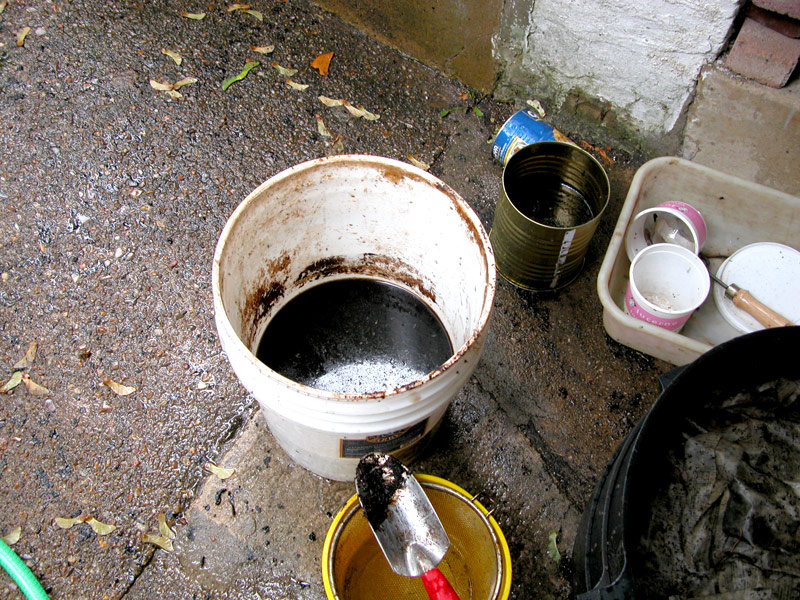
The white can below the spigot is for catching drainage water (leachate liquid). 90% of vegetables and fruits are H2O/water, which eventually filters down through the compost and out the spigot. If you put a watermelon in the bin, chopped up, it will be 95% gone in a few days! I use the leachate liquid/worm "tea" on anything that grows in soil, including my lawn, a rose bush, and my container garden. I even take it to dinner parties when I don't have an extra bottle of wine about (not to be drank, of course!). With two full trays the bin probably weighs about 40lbs -- water (from the vegetables), vegetables, castings, worms, and all the other critters.Everything in the bin, all one billion of them, are not interested at all in being outside the bin...the bin is their paradise. Anyone outside the bin will perish quickly. Spider's can be neighbors, if you don't mind them. Otherwise, clean the area whenever you clean the bin. Personally, I think spiders are smart, and they can be trained to stay "out of the way". |
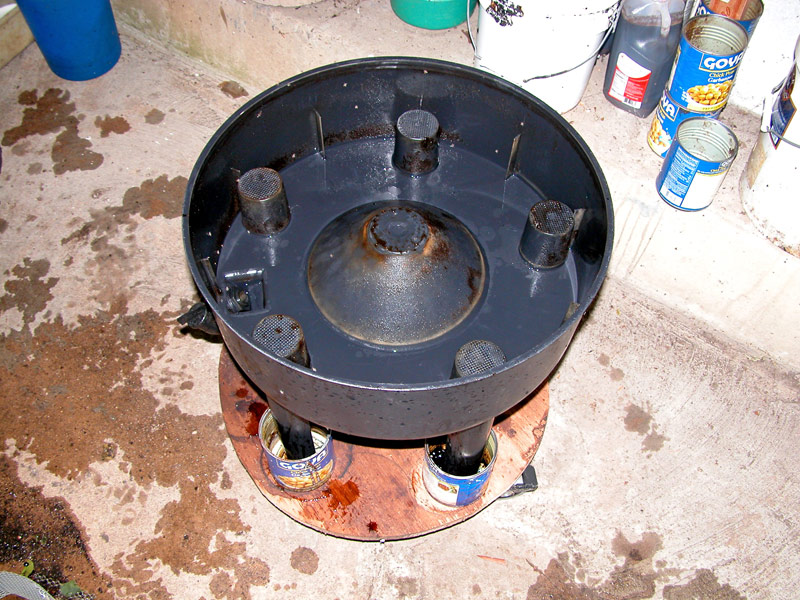 |
What the bottom base looks like. Notice the can with tea in it under the right leg. A leak. |
 |
The tea. |
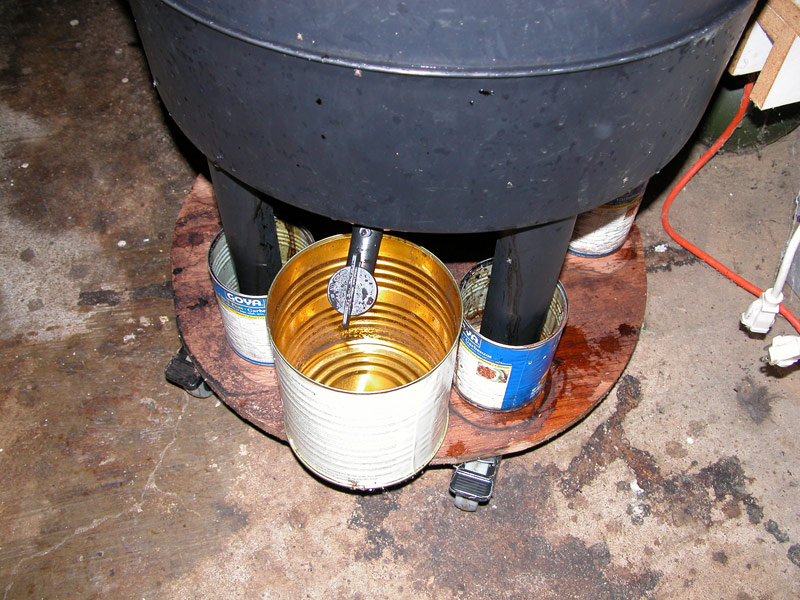 |
Closeup of the platform and the can under the spigot for the tea. |
 |
Filtered tea for transporting. For indoor use and gifting I like to filter the liquid using a strainer and paper towels. I've stopped adding tea to my houseplants on a regular basis, though, Worm tea is like crack to house plants. They get really excited and need constant pruning. |
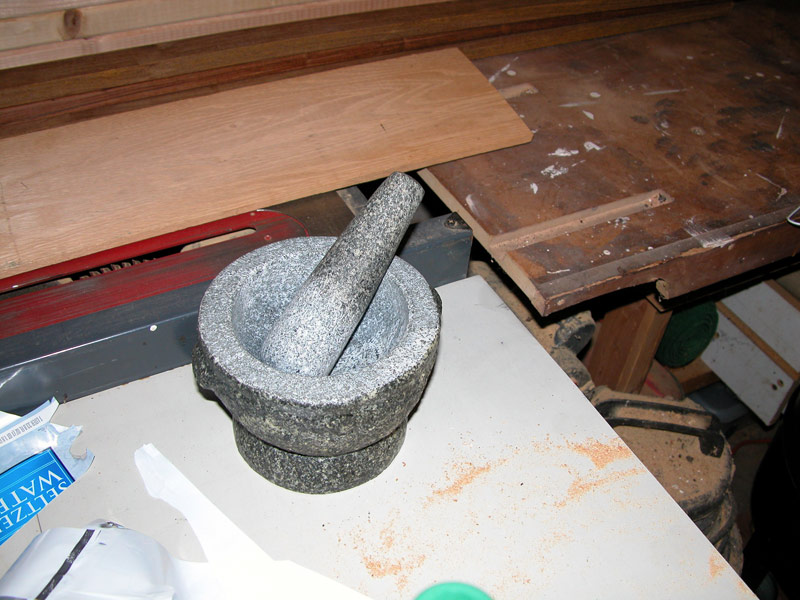 |
Mortise and pestle for pulverizing eggshells (raw, dried shells). Eggshells help the worms gut digest and also help to balance overall pH. |
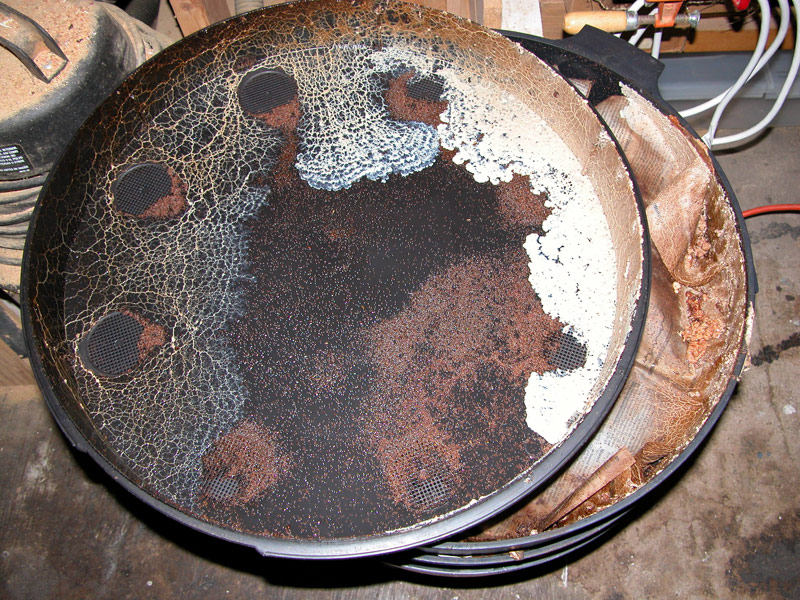 |
Wild stuff happens. That's a slime fungus on the inside of the top cover. I think it started from mushrooms I put in there. The worms don't care. |
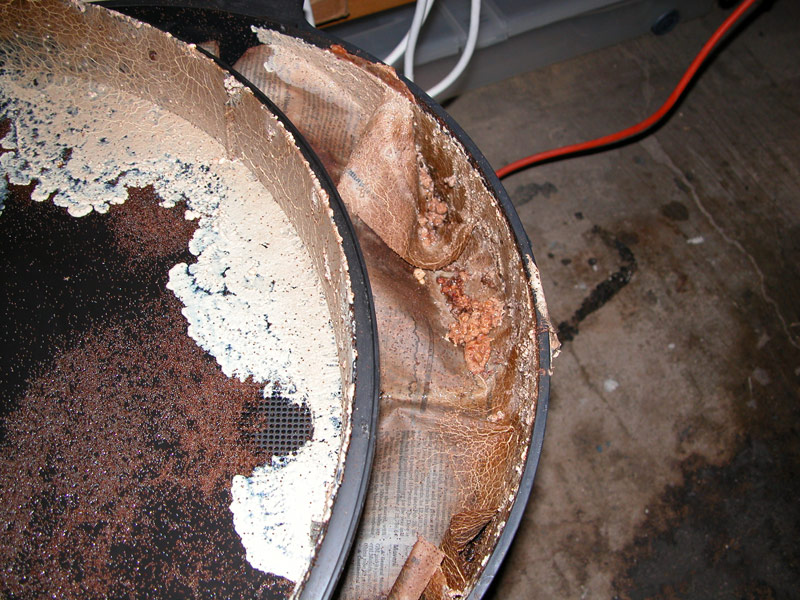 |
It's all good. The worms eventually get it after I scrape it with a plastic putty knife down into the bin. But kind of a pain.
Check out the bloom of red mites -- they are starting to come up through the vent holes in the top cover. No worries. Remember, everything in the bin wants to be there. A billion nano-creatures all having a big party. If any critters should make it outside the bin, they're as good as dead within an 1" and a day. The spiders will get the rest. |
 |
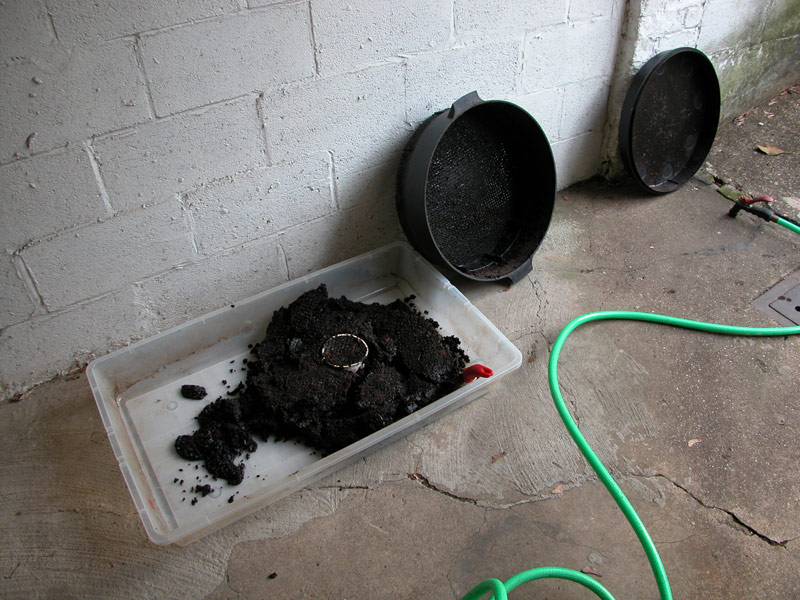
After about 4 months, this lower tray is ready to harvest.
You can't tell, but it's freezing-ass cold out here today. Harvesting in the winter is convenient as the flying things aren't around (mosquitos and house flies). |
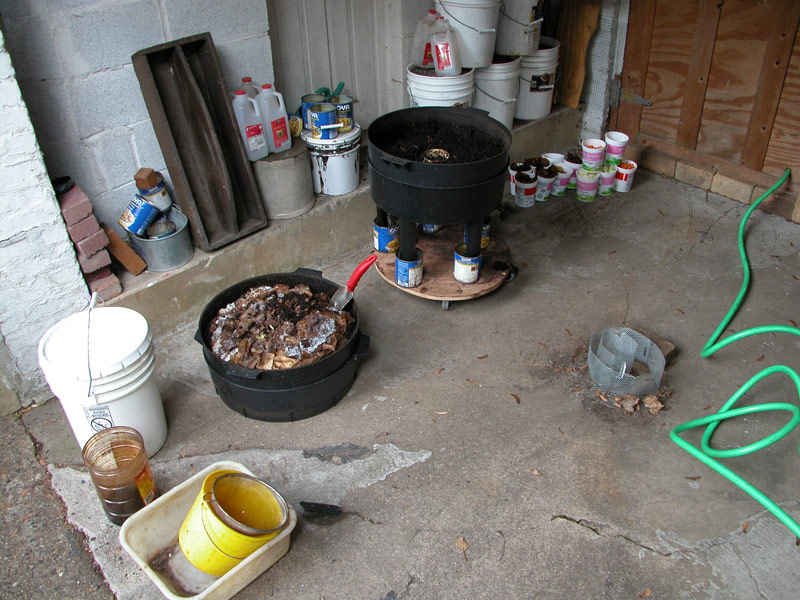 |
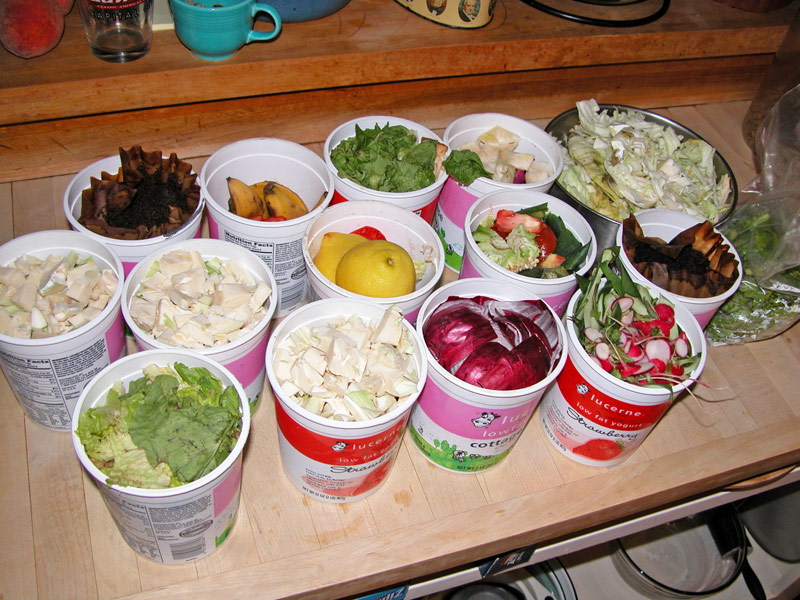
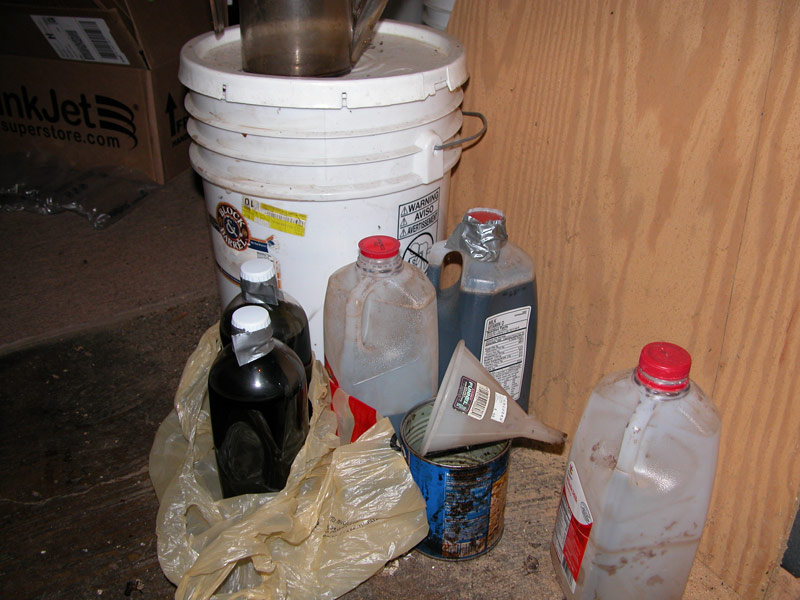
All the stuff you need. Clockwise starting at yellow bucket: 1. Bucket and a sieve (seated in the yellow bucket). 2. 5 gallon bucket to hold worm tea. 3. Trays with compost and food. 4. Empty milk jugs for transporting worm tea. 5. The worm farm with the roller platform. 6. Cottage cheese containers with food in them. I keep the food in the bottom drawer of the fridge until I'm ready -- much to my wife's chagrin. Lately I've switched over to produce bags which allow me to double my fridge drawer capacity -- much to my wife's chagrin. 7. Hose. Needed for cleaning the parts and air vents. |
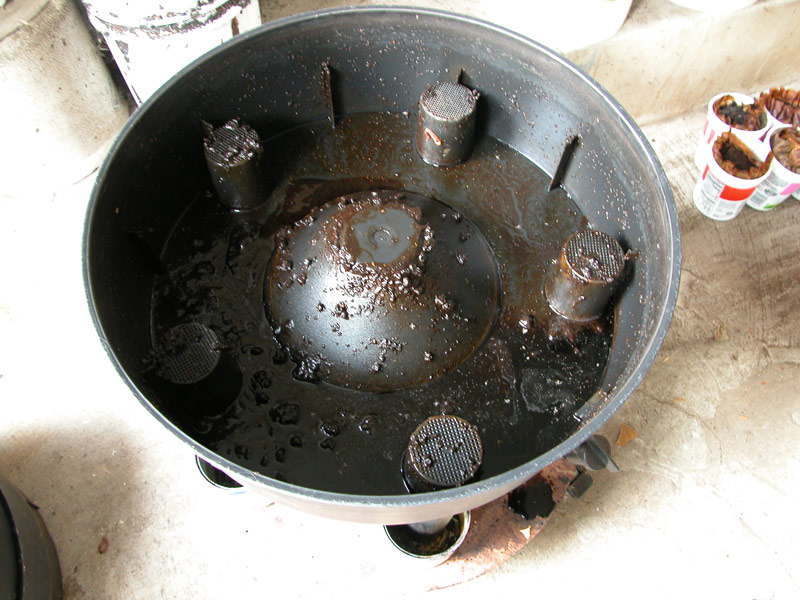 |
The bottom housing. Not too bad this time. Sometimes it can be really thick with worms and castings that have fallen through the tray. If the vents get clogged, you'll know because it will start to smell like a cow barn. |
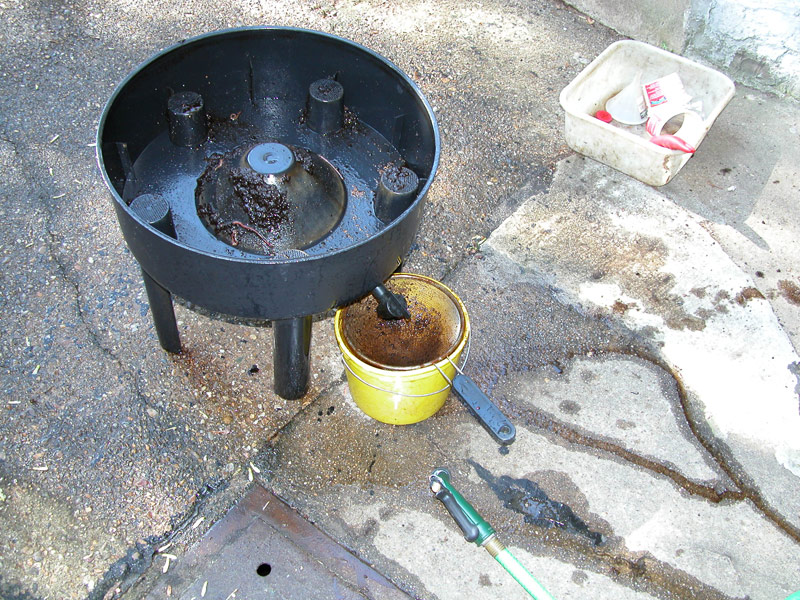 |
Spray out the bottom with a hose, making sure the vents are clear. You can retrieve all the worms that have fallen through by placing a sieve in a bucket under the spigot and then spraying out the bottom. The worms end up being strained out -- easy way to collect them. |
 |
The worms turn the compost so quickly that they level everything out. What you see here is thick but airy.
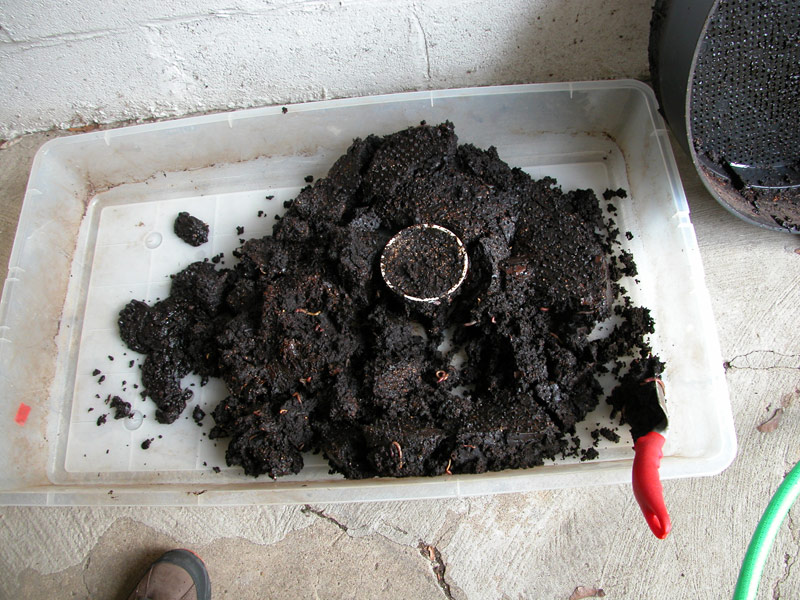
The white circle in the middle of the compost is a cottage cheese container cut exactly to the height of the next topmost tray. This is a design flaw in the device in my opinion: as the worms process the compost in the lowest tray the compost compacts. Thus, the ability of the worms to migrate upwards is impeded because the worms can't "jump" to the next tray -- the compacting of the compost lowers the level and cuts off contact to the top level tray. The cottage cheese container basically allows the worms to use a ladder to the new food upstairs. The compost is done when you want it to be done. This tray is done and ready to be harvested. |
 |
Here I show dumping the tray into a big flat plastic container. I'll bring the container inside and wait for a few days as I turn it over, trying to dry it out a little. |
 |
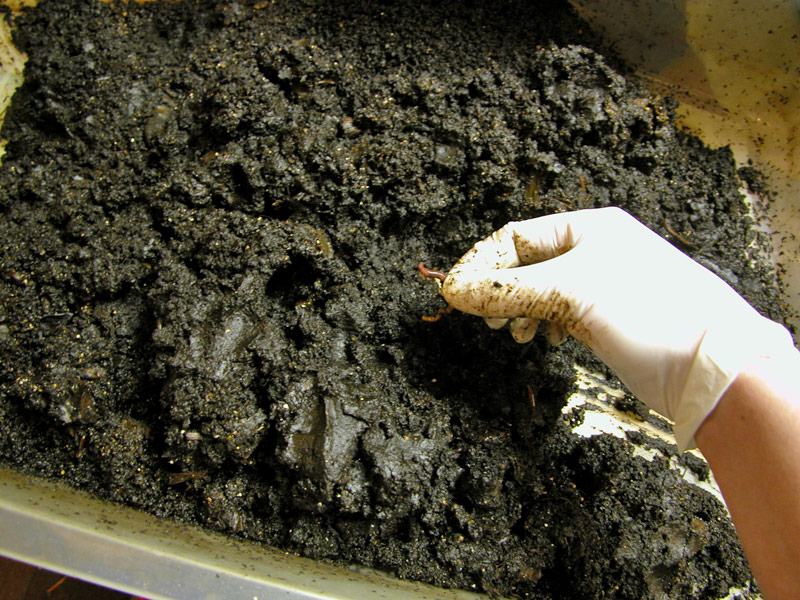
When you harvest a tray, there are worms still in that compost. Even though many of them have migrated up to another tray, there are still up to 500 worms that need to be removed.
As you take off top layers of compost, the worms go deeper. As the pile gets thinner, you'll need to start pulling the worms. Techniques and processes for mining the compost and worms is up to you. I'm a bit lazy and I do it over a week or so, a little at a time. Also, I usually do mine after the weather turns colder to keep flying things to a minimum. Once harvested and all the worms are back in the bin, it's a good idea to use the compost immediately or to mix it down with dirt after you're all done -- otherwise it will turn to mud over time, especially if it's left in a bucket, where it could also turn anaerobic. When the worms are completely removed, I use the compost to mix with my container garden dirt. I haven't purchased dirt since 2006 and I always have enough for a new container each year. |
 |
I like to keep a box of latex gloves around. It's easier to dig into the mound of crap with gloves on. Less mushy feeling when handling the compost...and the worms.
I use basic powder-free latex exam gloves, non-sterile -- whatever the best price is. |
 |
Bet a worm would taste really good sauteed in an emergency. Good protein. I wonder if it would be necessary to starve them for a week or two before eating, like snails? |
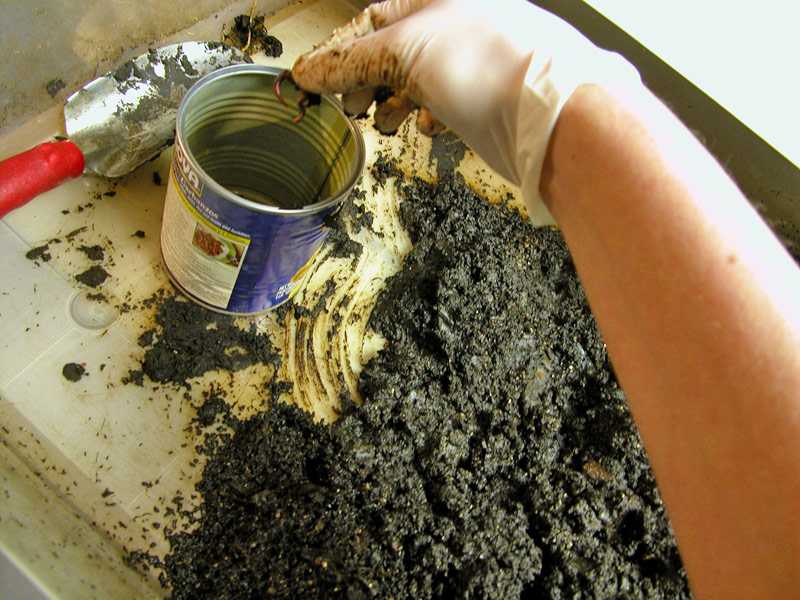 |
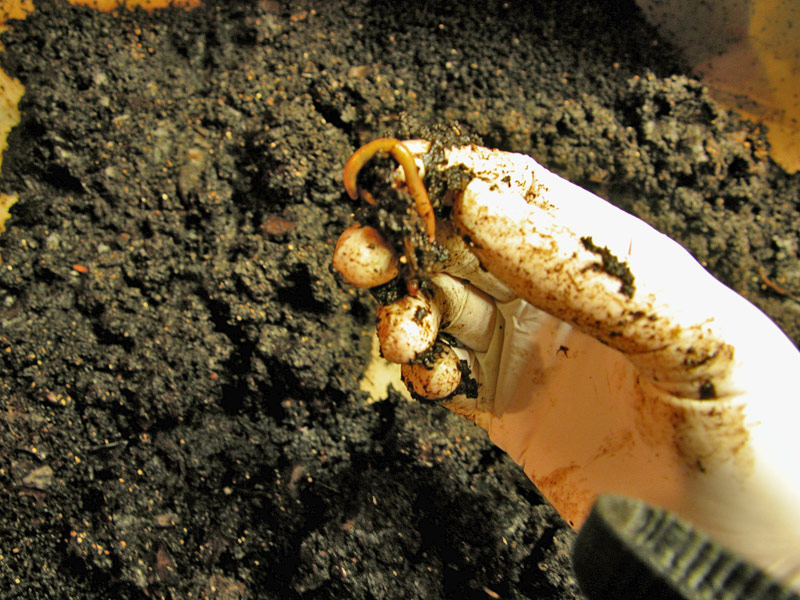
I keep two cans in the harvesting bin: one for trash like rubber bands, green pepper stalks, some tomato skins, staples, etc.; and another for dumping the worms in. |
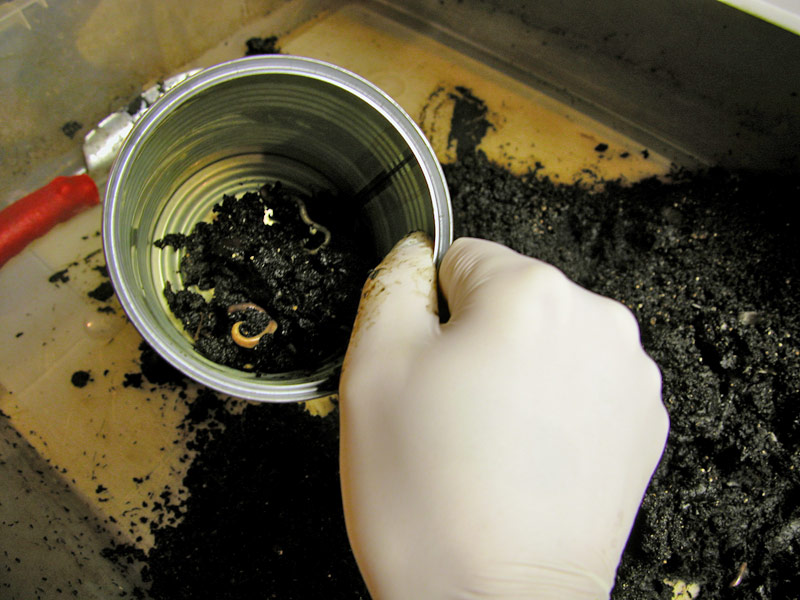 |
Not too worried about picking up some product with the worms. Faster that way. And easier to keep them in the can. |
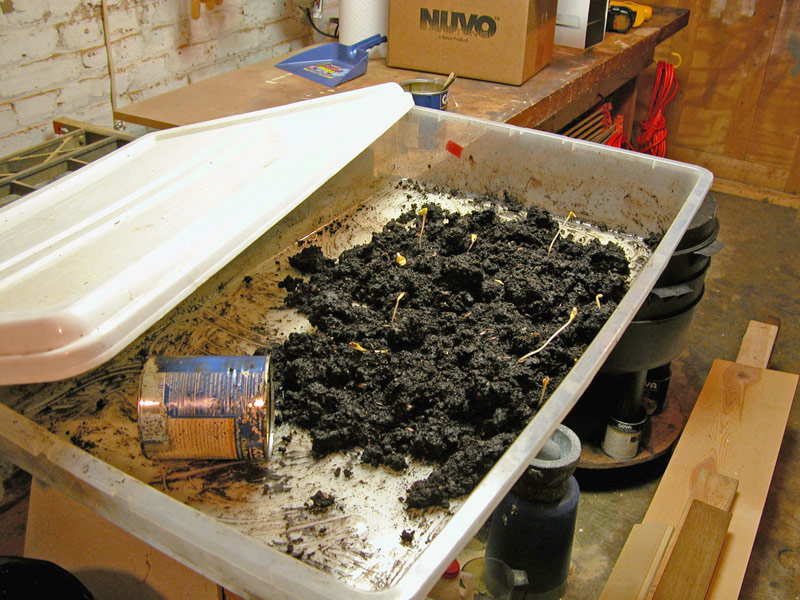 |
Almost done. I think those are watermelon seeds sprouting. |
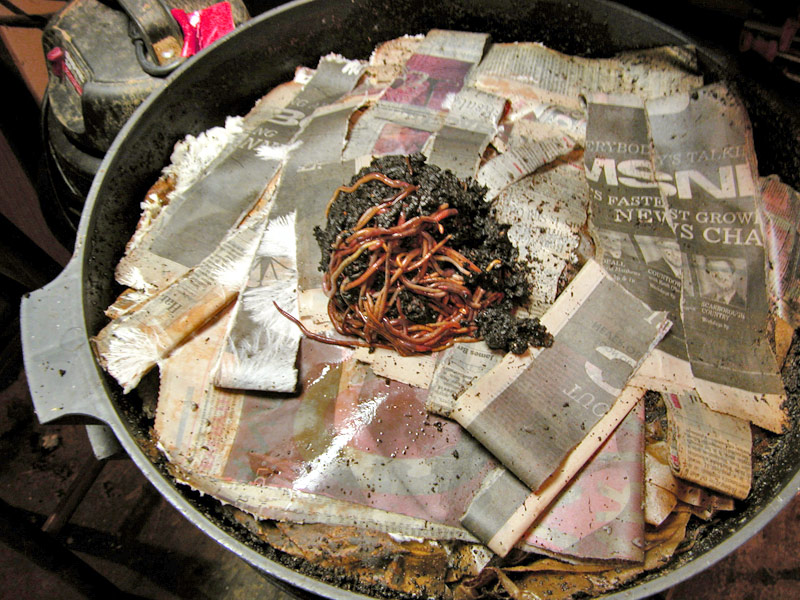 |
Dumping a can of saved worms on top of a bin. Incidently, this is kind of what it looks like when you get worms in the mail -- a big ball of worms with a little compost.
The white stuff around the left side is plain ole' mold. This winter has been so cold that even in the garage the worms won't come to the surface. As a result, the damp newspaper molds. I just dig it under -- the worms don't care. You must use composting worms in the bin. Regular worms won't work. I thought I read once that one of the reasons Biosphere 1 failed was because they were using the wrong worms. |
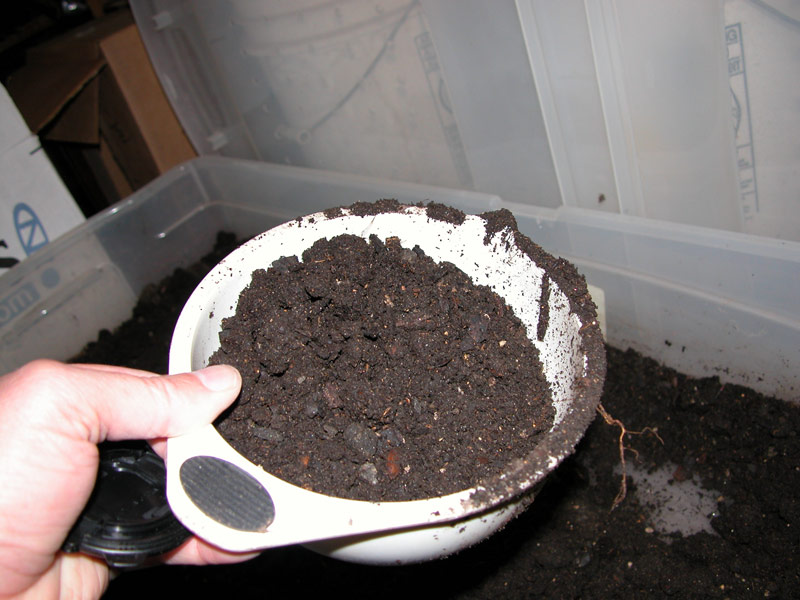 |
The final product, mixed down with regular potting soil and left to dry out and granulate. |
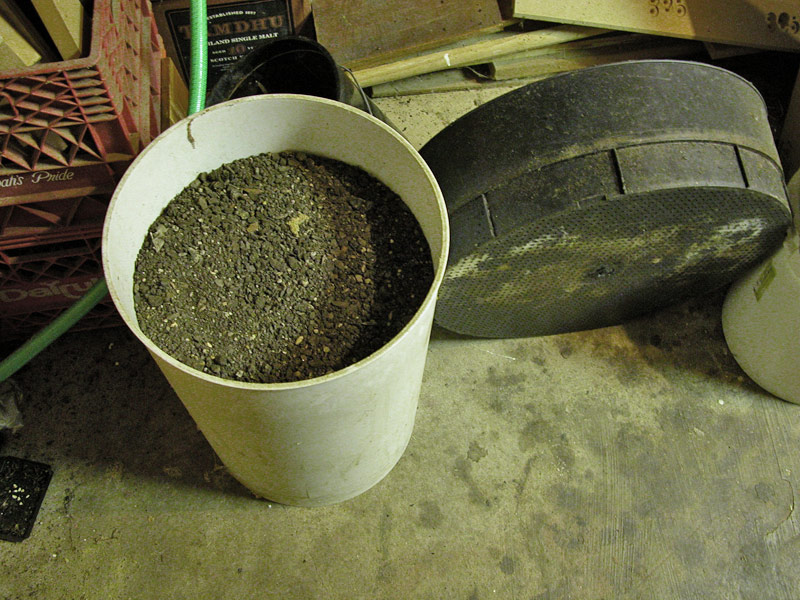 |
Ready to go.
------ Sauerkraut: Sauerkraut123 Sprouting: Sprouts123 Vermicomposting: Worms123 |